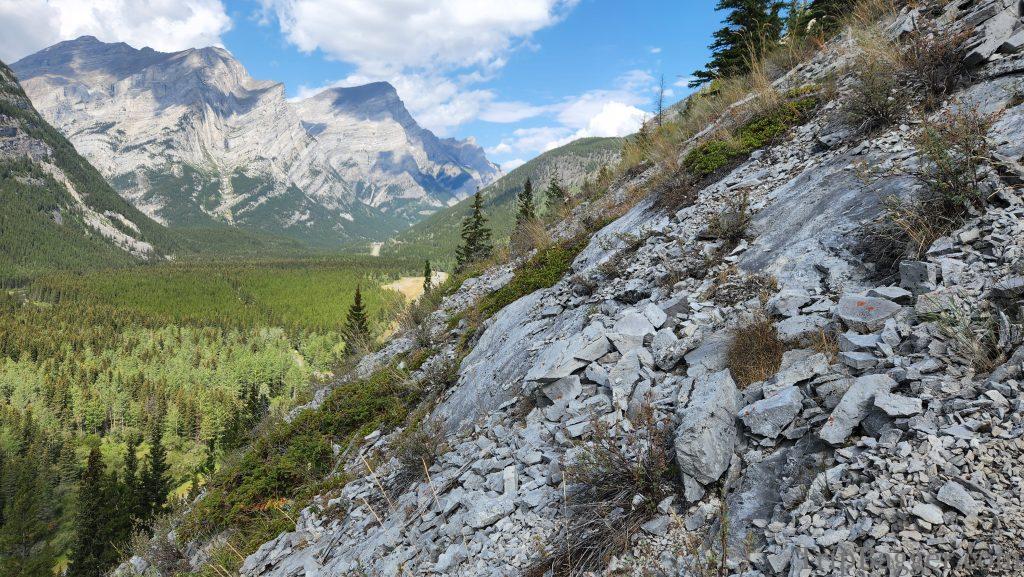
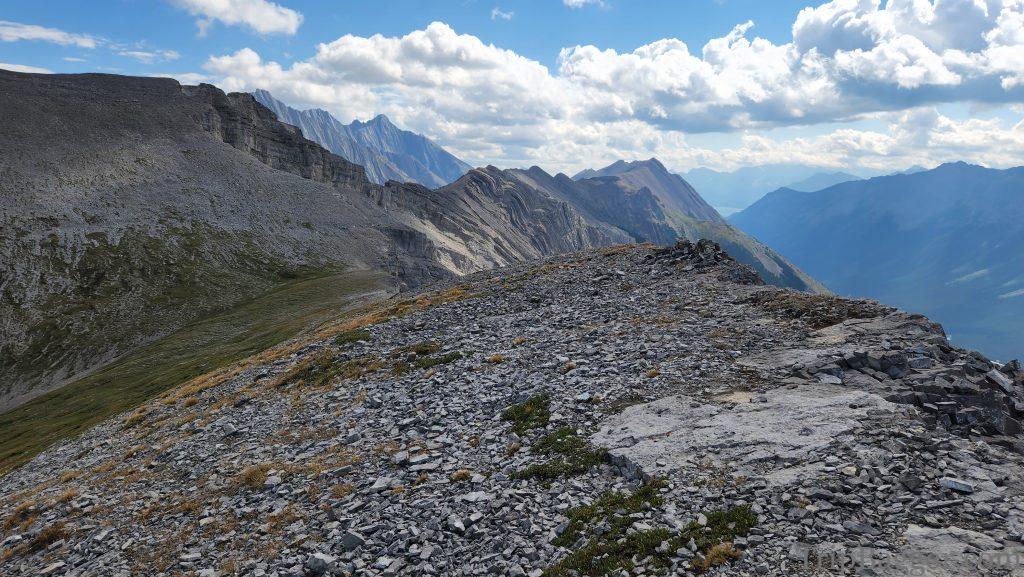
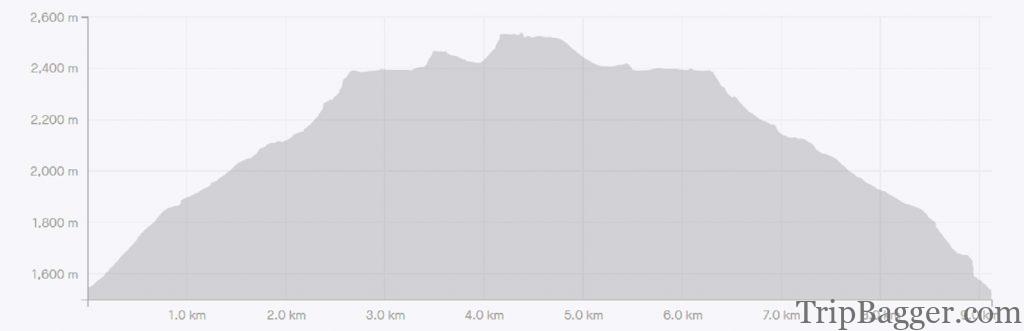
Right from the car, this trail immediately starts climbing. There is no time to warm up, just start grinding uphill. This also means the views improve quickly as you ascend. There are multiple routes up this part of the mountain which results in a mix of trails, some are more obvious while other disappear in the rock slabs sometimes. Being able to navigate your own route is important.
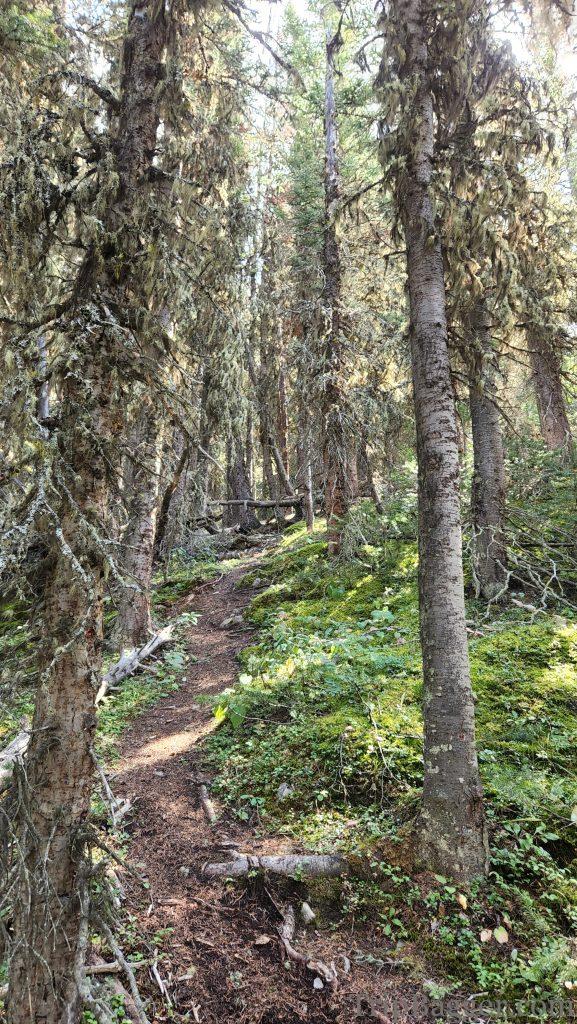
After making it up the steep initial hill the trail turns right onto a ridge and enters a nice cool forest, which was particularly refreshing on this +28C day. Many of the routes converge here and the trail becomes much more worn and obvious.
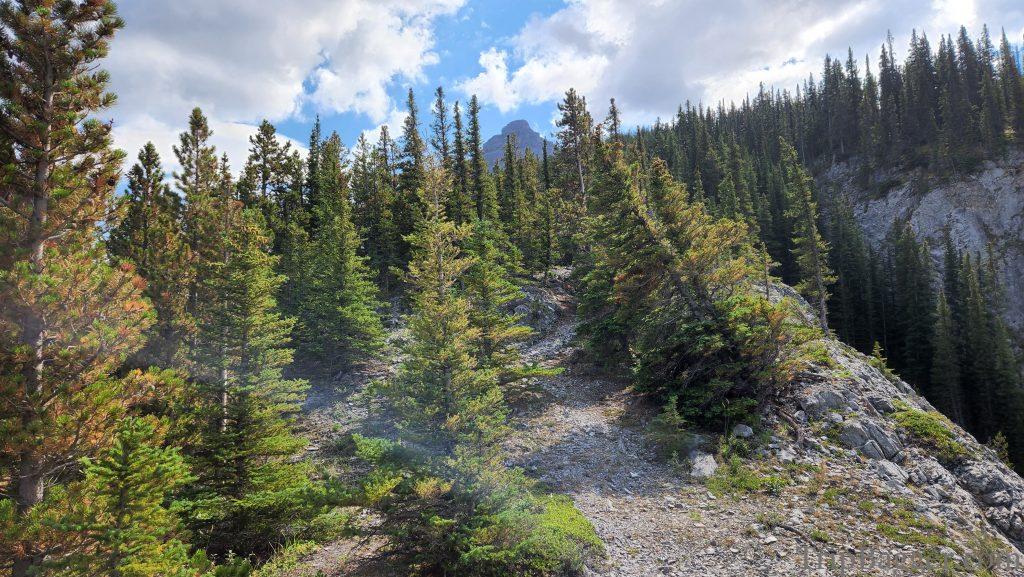
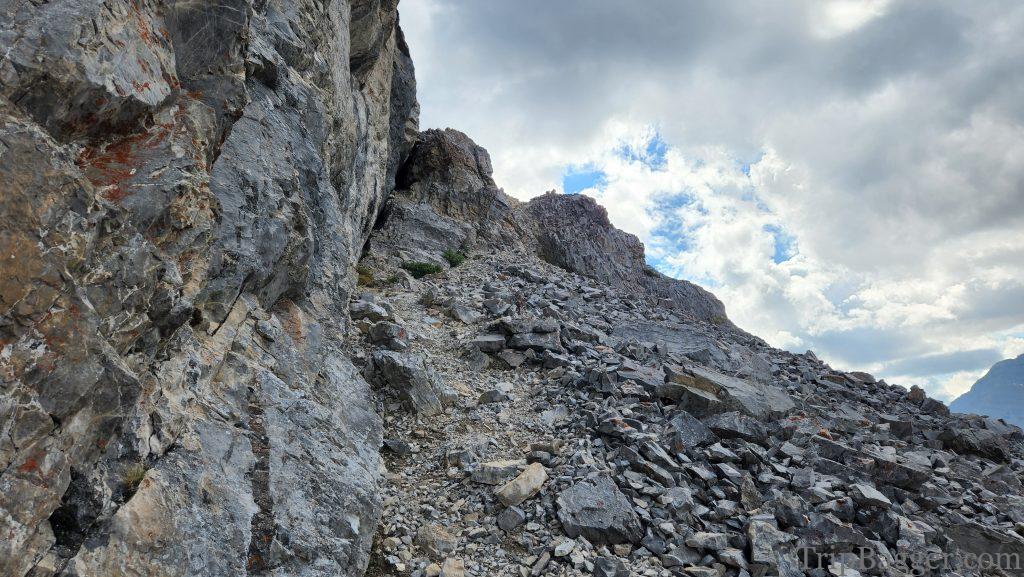
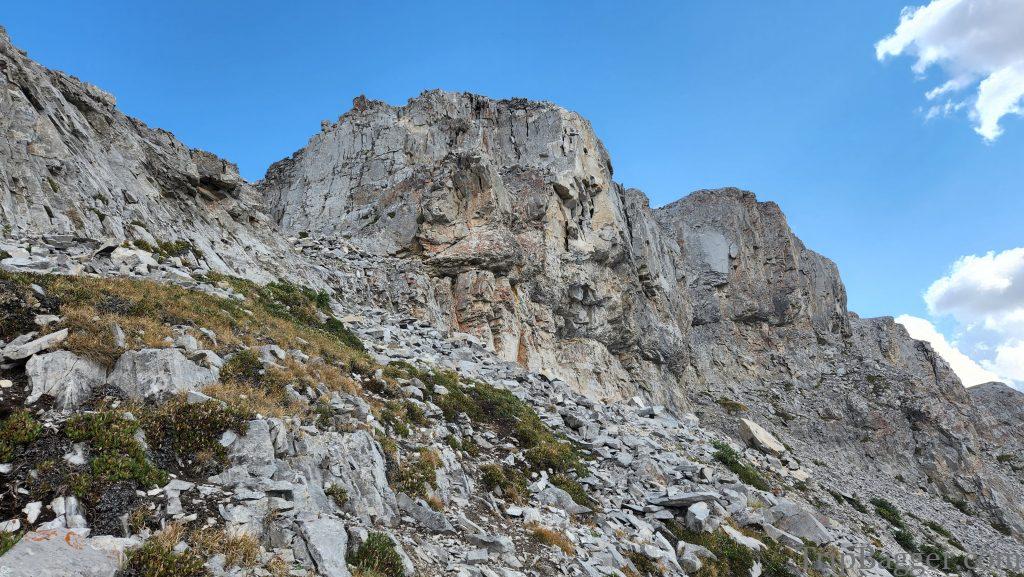
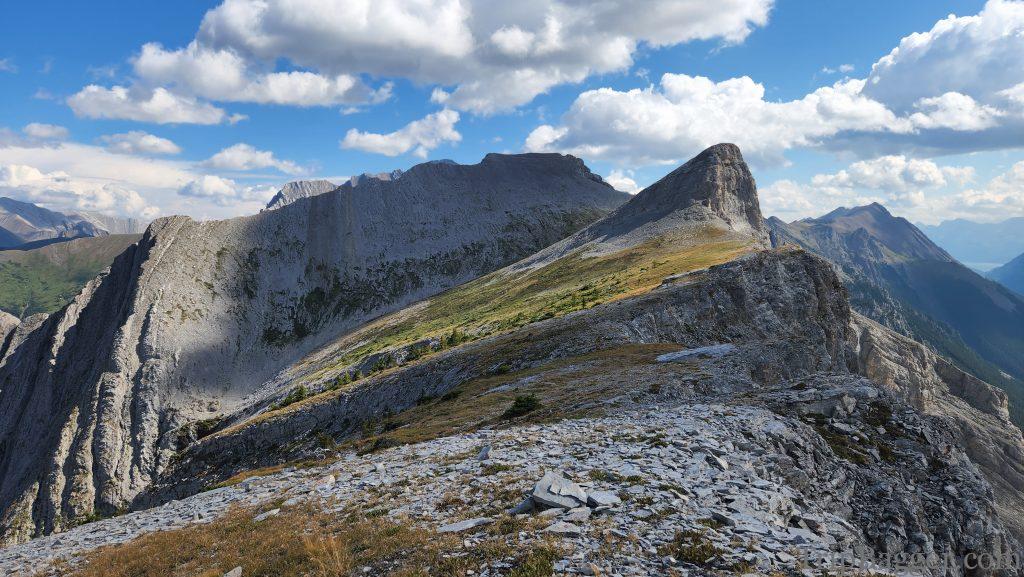
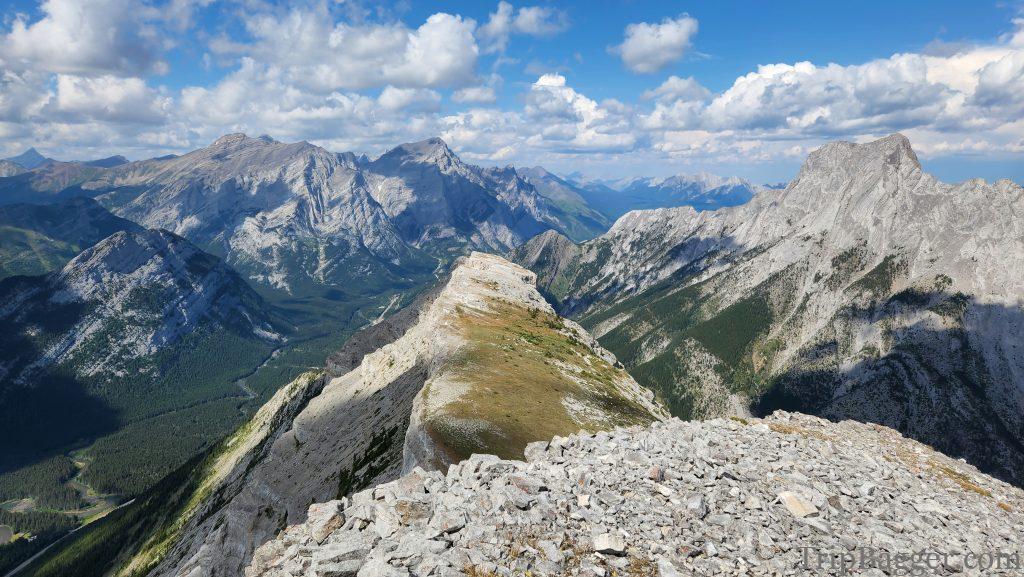
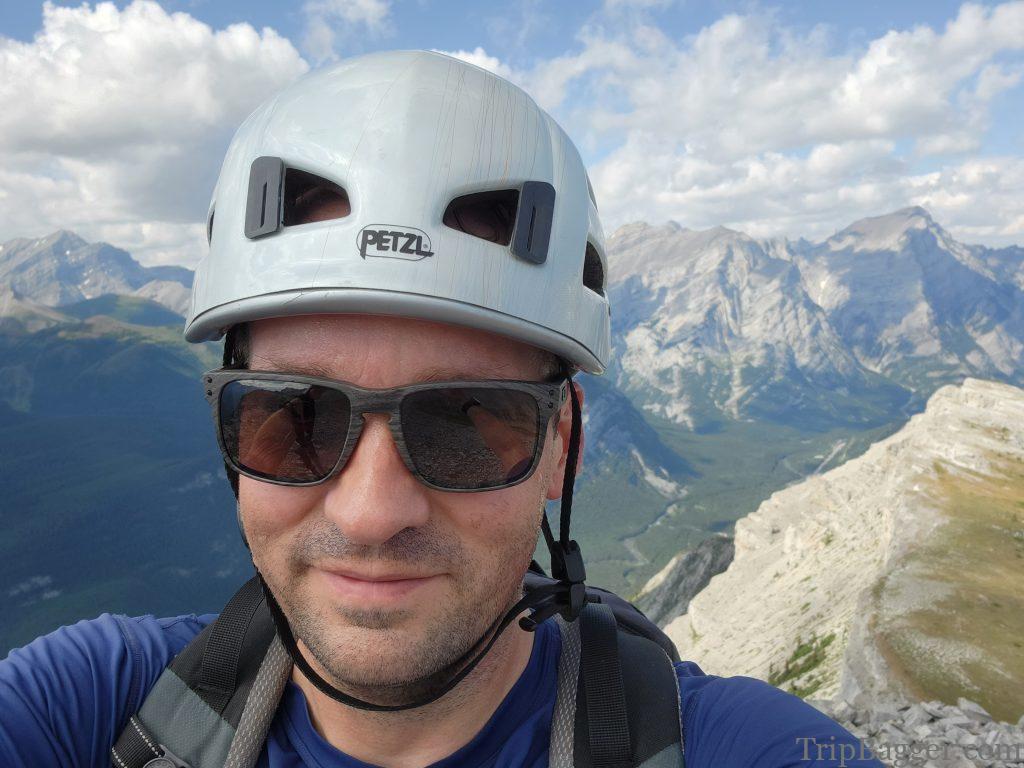
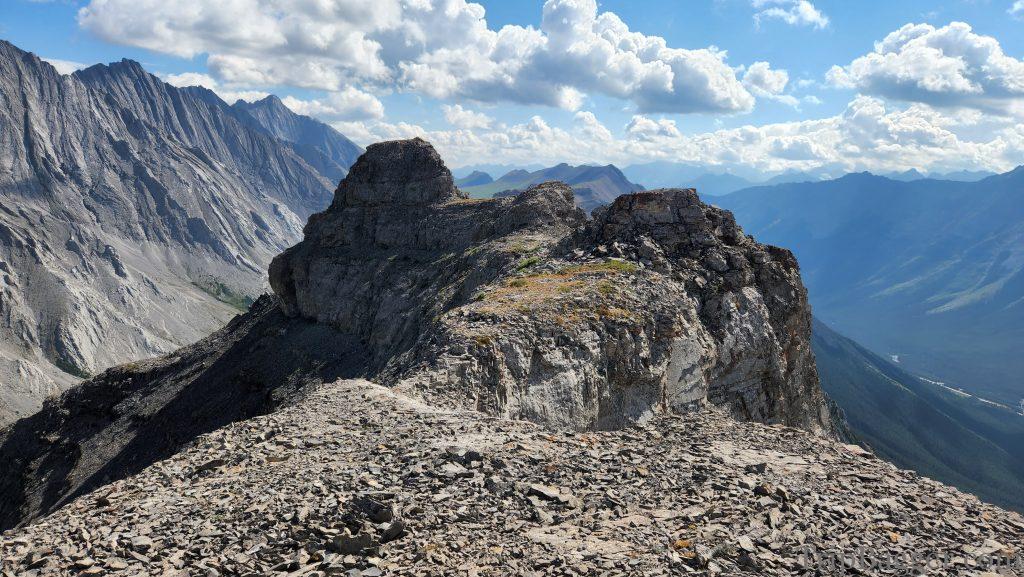
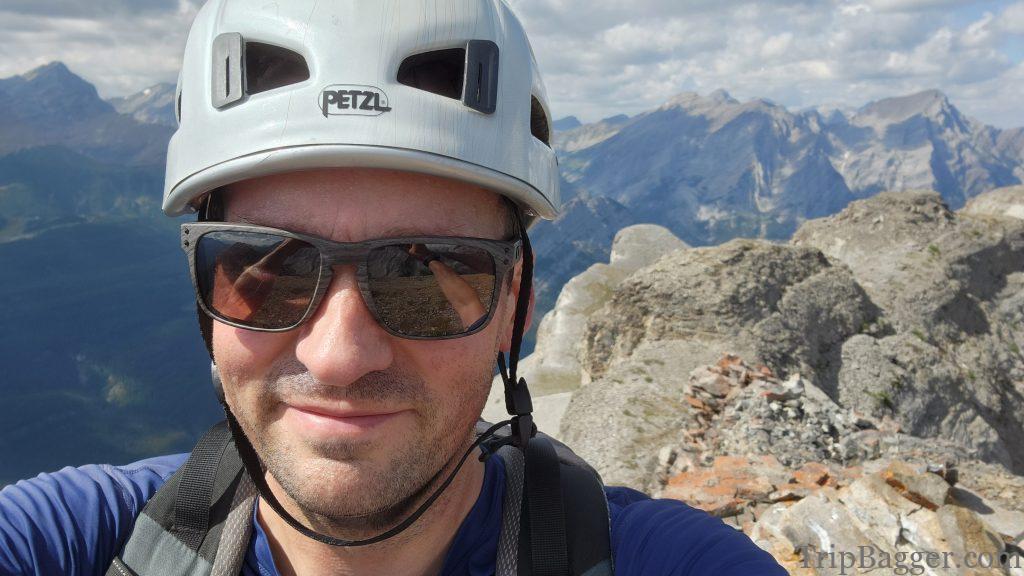
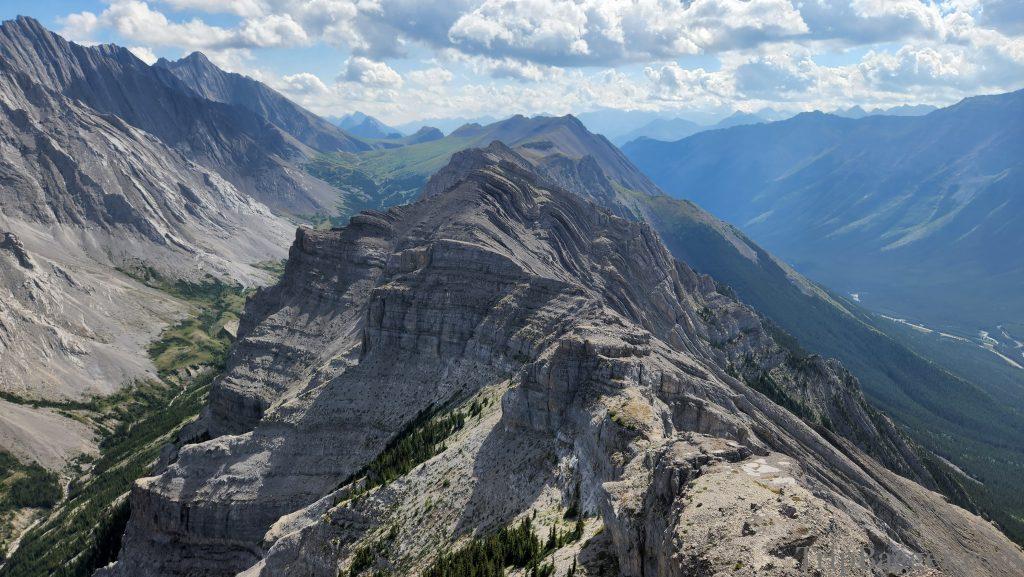
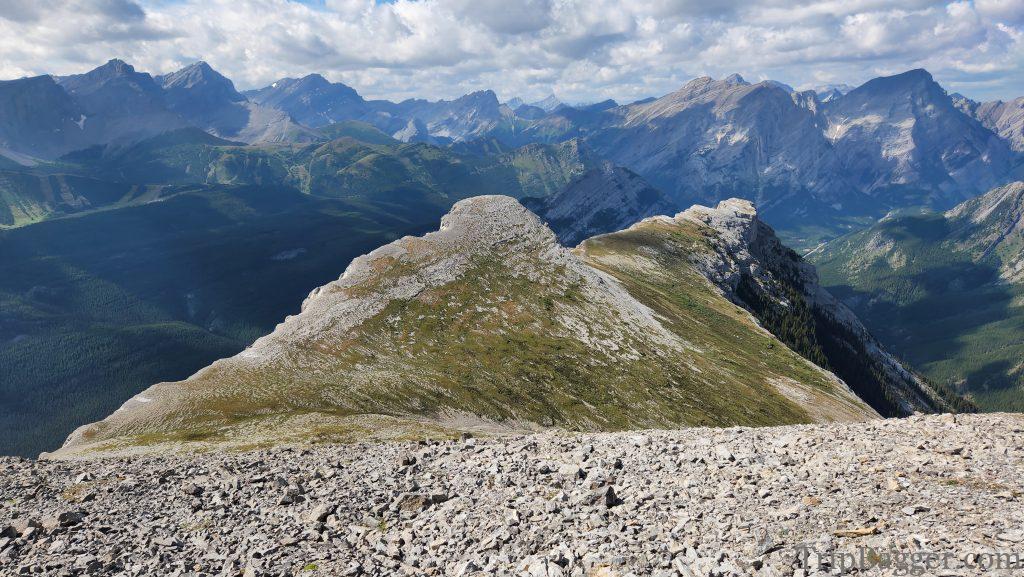
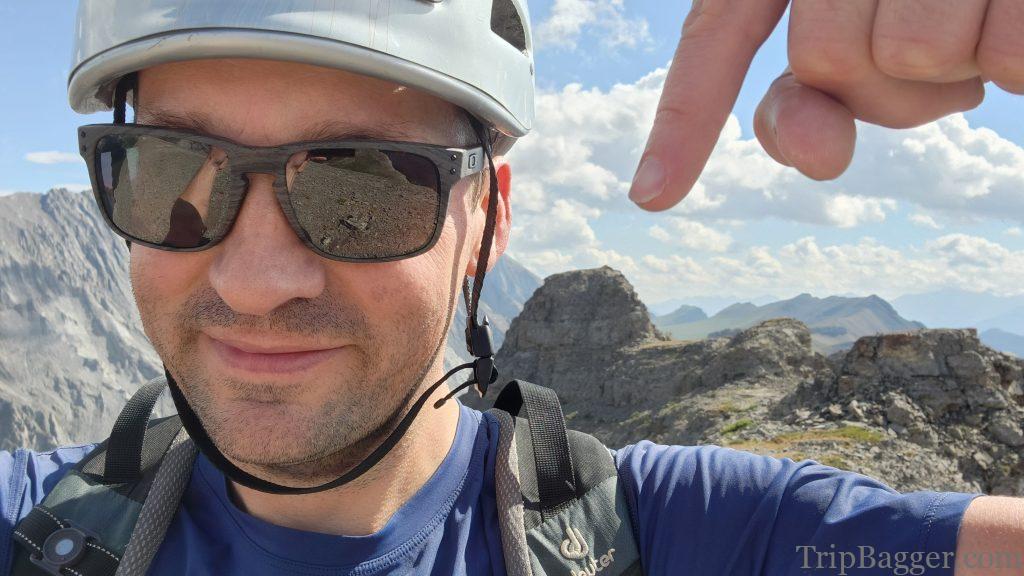
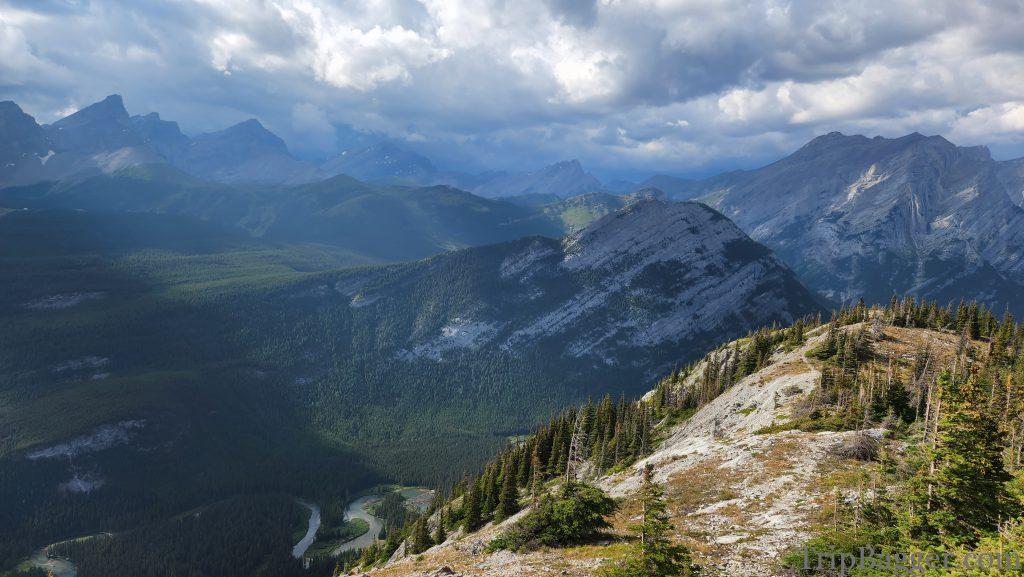
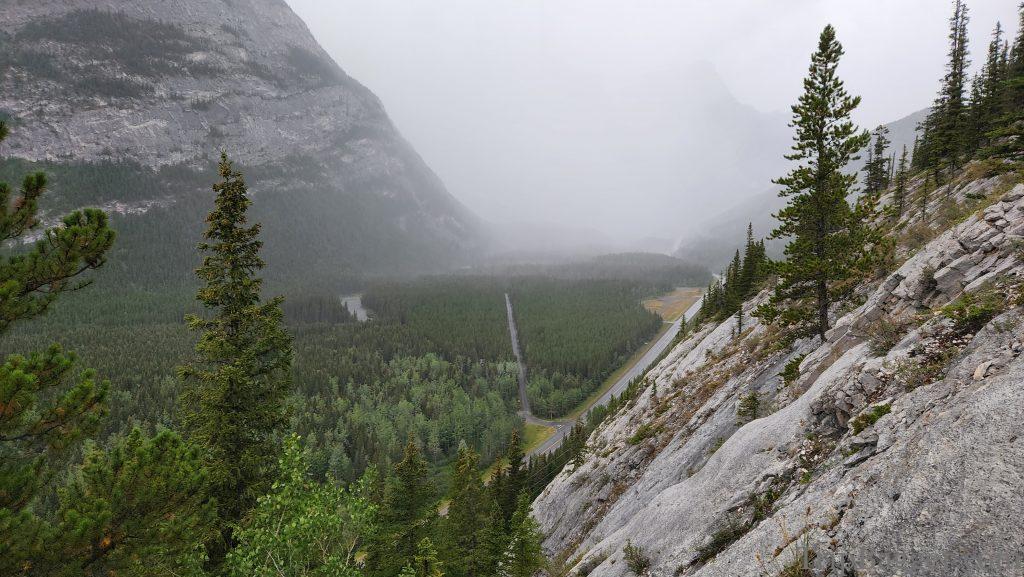
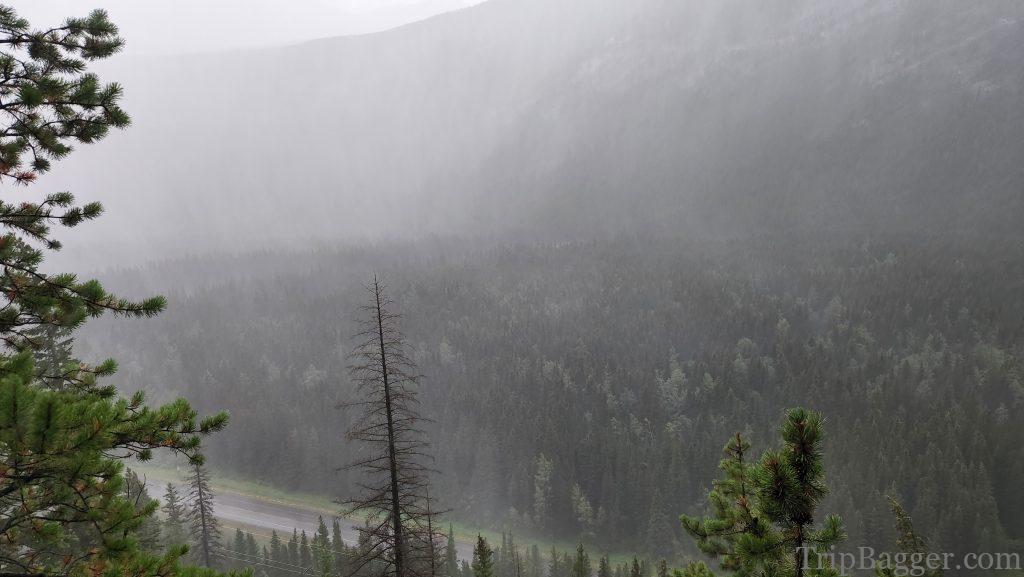
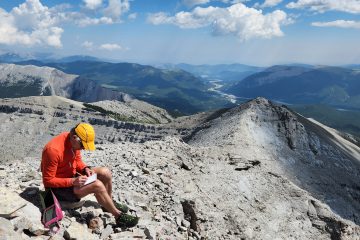
Along the ridge the trees occasionally clear out. The summit appears to be very far away, but it isn’t really that far. As is often the case in the Rockies, the summit block looks impassable from a distance. But with a closer look there is a way through the cliffs. I’ve drawn the very approximate route in red.A look up the ascent gully as the route wraps around the right side of the summit block. There is a small scrambly bit near the top of the gully that can be avoided by descending and going around on the right.After making it up the gulley and hanging a left you reach the next crux of the ascent. Although it looks impassable again, this cliff band can be scrambled up as well. After clearing that obstacle, you are on a nice wide ridge. The official summit is the pointy hill on the right. Better keep going, I’ve got selfies to take. On the official summit. I say official because the maps and a few online resources indicate this is the summit. Even my GPS watch says this is the summit. 1h 35min to get here moving at a brisk pace. Which of course means the traditional summit selfie makes an appearance.Wait a second. While looking down the valley, trying to make sure I got the best angle for my summit Selfie. I see a taller summit cairn. Could the Maps, guides and GPS watch be wrong? I have no choice, onward!After trudging up the slope behind the “official” summit I am greeted with this ridge. The cairn is visible just across the narrow ridge and up a cliff band. This summit is certainly higher than the “official” summit. I decide I am right, everybody else is wrong, and start making my way over to it.The final crux before reaching the real summit (real as decided by me). I’ve drawn in my very approximate route. Note if you are thinking about this, you must downclimb after, unless you want to stay up here forever. Going up is always easier. Traditional summit selfie on the self-declared true summit. The views up here are very good. You can continue to traverse along this ridge to complete a loop, but the terrain is very difficult and exposed in places. A look back at the “official” summit. I am definitely much higher in elevation and decide my life’s work will be to correct this error. Or not, I’m pretty lazy. My cousin sent me a text asking what mountain I was on. I sent her this picture. This one Cousin! Obviously!While I was busy taking selfies and debating with myself what constitutes a true summit, I failed to notice a large thunderstorm heading in my direction. Time to make a very fast descent out of here! Fortunately for me, it is downhill. I can see the rain heading toward me down the valley. I can also see the car not far below. Just a bit further to go and I’ll be in the clear!Despite my best-efforts mother nature won this round. I was soaked and treated to some good thunder and lightning before getting to the car. Still a great day out!


0 Comments